10 Wish Movie Crafts by the Elf. This post contains affiliate links, you can find out more on our policies page or in the disclaimer at the bottom of the blog.
This was such a fun movie. It truly celebrated the spirit of the Disney lore and universe. Have you checked out our post with 5 lessons from the movie and a parent review?!? Check it out by clicking here.
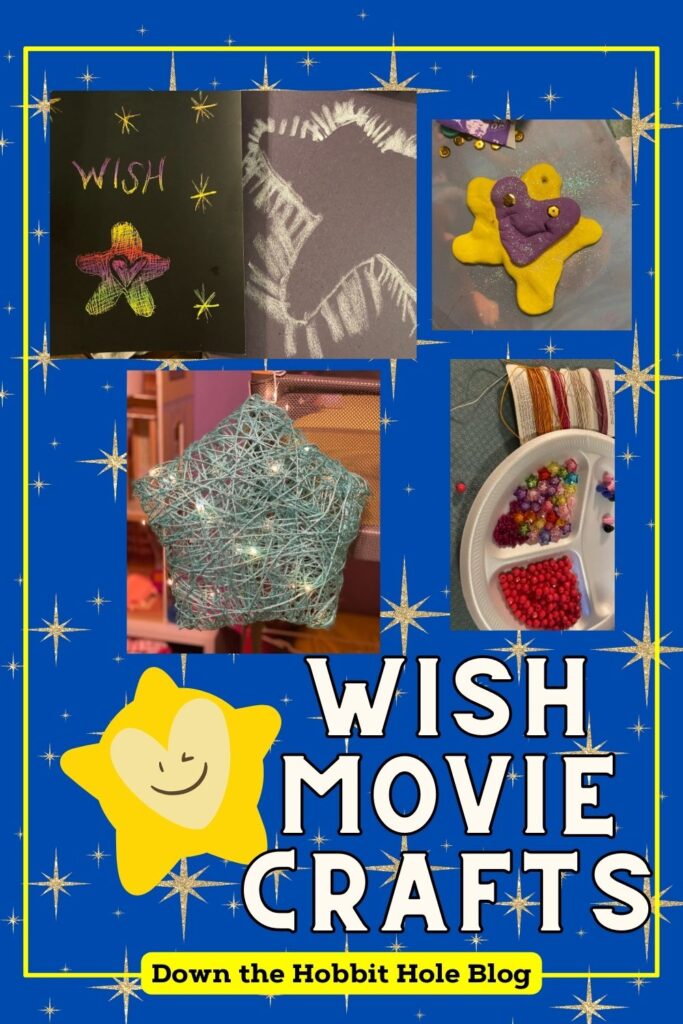
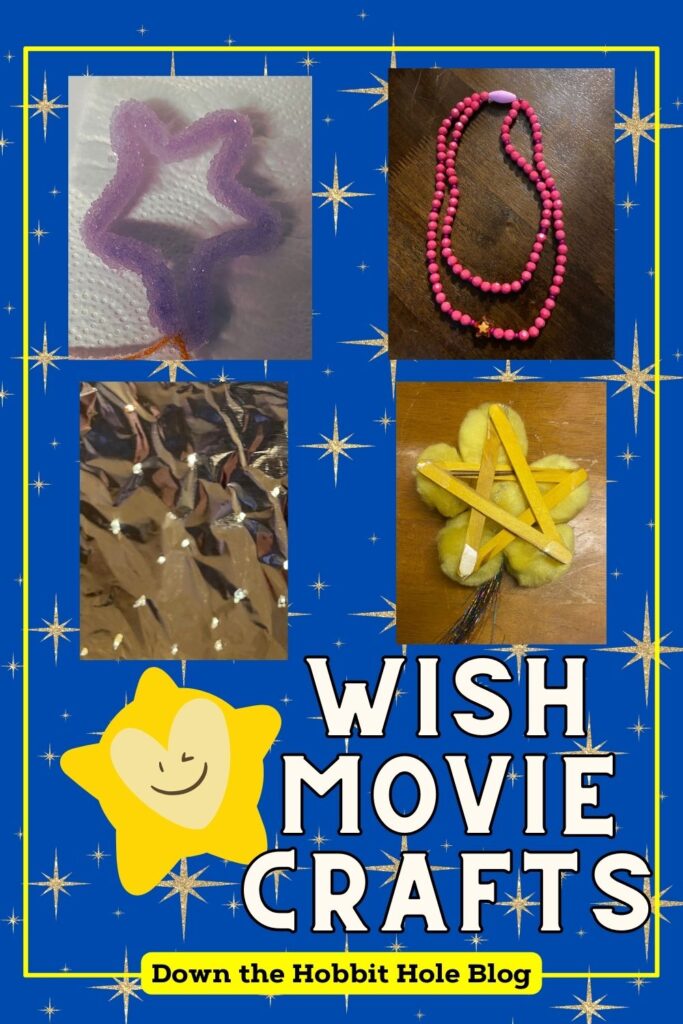
We wanted to keep the upbeat spirit of the movie going, and to keep some reminders around to keep wishing on stars. And how PERFECT is it that a star features so prominently in holiday decor as well?! It’s the perfect time of year for a lot of star decorations!! Here are 10 Wish movie crafts to extend the magic movie experience.
1) Star Crystal Ornament
This star crystal ornament is a great Wish movie craft option. My favorite way to make crystal ornaments is with borax. You’ll need borax, hot water, a large container or deep bowl, pipe cleaners, string, and something long like a stirring spoon or a popsicle stick.
To make these you first decide on your shape, a star, and mold it around a cookie cutter or just with your hands. Tie a string on it and tie the string to the stick. place the stick across the lid of your jar or bowl and make sure that your star floats in without touching the bottom. Then take it out and fill your bowl or jar with 3-6 cups of hot water and mix in the borax (3 tbsp for each cup of water.)
Place your star in overnight and watch it grow crystals!! The color of your pipecleaner will show through, I chose purple for this one because I thought that fit well with the movie colors. These are more durable than they seem and can be hung anywhere, including a Christmas tree!
2) Wish movie crafts: Make your own wand!!!
The absolute easiest way to do this is to grab a short, dry, stick from outside and decorate it. But you can also grab a short and thin dowel rod from the craft store. I knew my kids would want glitter on their wands so I got some glitter tape like this to save myself from the mess of trying to glue glitter on a round object.
One kiddo wanted a green wand like Magnifico’s wand, so we grabbed some cheap pool gems (because they were much cheaper than the big gems at the craft store) and glued one upside down (so the flat top of the diamond lined up with the flat top of the wand and could be super glued on). We decided not to put a star at the top of the other one to keep it more like Asha’s wand throughout the movie. As far as Wish movie crafts go, I think this one will be the most played with!!
Check Out: Trolls 3 Movie Parent Review
3) Suncatcher Star
There are so many ways to make suncatchers, and tons of easy tutorials online. My favorite way to do these are to make them with is with contact paper, construction paper, and tissue paper. Cut the shape out of construction paper or cardstock, a star in this case. Then carefully poke a hole in the middle and cut around the inside of the shape so you are left with just the shape outline. Stick the outline on top of some contact paper. Then rip or cut up some small pieces of tissue paper to put inside the shape. Then tape or tie it up on the window and enjoy!
4) Playdoh or Clay Stars
Playing with play doh is a great fine motor skill builder. And a lot of fun!! We found a dog cookie cutter that looked almost like a goat and a star cookie cutter. And went to work making Valentino and Star. If you want them to stick around, use airdry kids clay. Otherwise, stick with play-doh to extend the movie magic and play together!

5) Make the Necklace and Earrings from Disney’s Wish Movie
I was so excited to make these Wish movie crafts! I made 2 versions, a kid version for the play jewelry box and a more adult version for me and my older nieces. For the earrings I used a clip jewelry set for the play ones with just some jewelry string. I put two pink pony beads on with a pony bead star at the bottom. And for the play jewelry necklace I used dark pink and purple pony beads to make a two strand necklace with a pony bead star in the middle of the bottom one and a super easy snap clasp.
For the adult version, I used metal strings and clasps as well as glass, metal, and clay beads. For the earrings I used a string, but a post would work as well. I strung a diamond shaped metal spacer bead at the bottom and 3 small bright pink glass beads on the top. And for the necklace, I used a double strand spacer on the top of each side (which is just a bead with two holes) and just measured as I went.
My favorite necklace clasps to use are the toggle ones. These are easy jewelry pieces to make, and if using metal wire and beads is too complicated, this look can easily be accomplished with just a basic string of beads tied off at the end with no clasp.
Continue reading for more Wish Movie Crafts
6) Scratch a Night Sky
Scratch art is so fun! You can buy pages like these, or make your own. To make your own, color a page (shiny water color paper works great for this) with markers- the whole paper. Then cover the whole paper with a layer of dark wax crayon. Then you can scratch away at the crayon to reveal the colors underneath.
Once you have your scratch art paper, you can add a quote from the movie and some stars around it. Make a galaxy with little star dots and planets. Scratch out your own wishing star. The possibilities are endless. It’s a fun way to draw and create. And the stark difference between the bright colors and dark background are perfect for a beautiful night sky Wish movie crafts.
Check Out: 25 Art Ideas That Don’t Require a Lot of Supplies
7) Make a Star Light or Plush: Wish Movie Crafts
Kids sewing kits are super fun, but if you’re not a fan of needles (kids ones are blunt, but still) you can also make a star light! Both of these require patience and big fine motor skills!
To sew a star plush, you can grab a kit. Or grab your own kid needles, stuffing, felt material, and sewing scissors. Cut out two star shapes with rounded edges, sew 2 tips together and stuff them, then sew 2 more and stuff them- then stuff and sew the last tip of the star together.
To make a light, you can grab a kit. Or grab your own star foil balloon, thin yarn string, liquid glue, and mini fairy lights. This one was significantly harder than I thought it would be and took two days, but the result was great! We used the kit. Either way you mix your glue with water. Then make sure your string is really saturated with the glue and start wrapping it around the balloon.
I used a large mixing bowl to set the balloon on for a break and overnight to dry. Let it dry for several hours (or overnight) and flip it to let the other side dry. This project was also really messy. So make sure to cover your work surface with something like newspaper or a tablecloth.
8) Wishing Slime (Galaxy Slime)
Personally not a fan of slime. BUT my kids love it. And it’s good for fine motor skills and mood regulation, so we still play with it! (just on a covered surface with a smock). If you want to make it, STEAMsational has a great galaxy slime recipe right here. You’ll need liquid starch, food coloring or colored glue, clear glue, bowls, a covered surface, fine glitter, and patience. Or you can just buy it, like this set.
OR use putty instead, like this. That’s my preference. And this one is our favorite because you can draw on it with a light. Very magical.

9) Craft Your Own
Pull out the craft drawer with all the odds and ends and see what kind of star you can make. My daughter made one with popsicle sticks, a LOT of glitter, and pom poms. Then she made it a shooting star by adding some of our leftover hair tinsel.
Y’all!!! Have you tried hair tinsel?! We discovered it this summer and it was SO MUCH fun. This kit still has plenty left for next summer and lasted for us through multiple kids and multiple color changes this summer. I even used some and it stayed in for almost two months. Youtube videos helped me figure out how to put it in.
10) Chalk it Out!
One of my favorite chalk art things to do is to grab some cutouts or stencils and draw over them with chalk. Then you remove the stencil or cut out and you’re left with a beautiful chalk outline. This is super fun to do on black paper with neon chalk. And stars are the perfect thing to cut out and draw on top of!
You can also draw with chalk outside! Inspire some other people with an encouraging sidewalk message or drawing. Or have fun in your own backyard trying to draw the characters from the movie. Don’t forget to draw a star and make a wish!
What’s your favorite star craft?! Or your favorite movie craft?!
Check out these other Wish activities-
Wish Uno!
Wish Lego set with Asha, Star, and Valentino
Wish Necklace Activity Box
Down The Hobbit Hole Blog and this 10 Wish Movie Crafts use affiliate links. We only link products we think you’ll like and you are never charged extra for them. As Amazon Associates, we earn from qualifying purchases at no additional cost to you. All images used in this post were either original designs from Canva or used from media kits We also use cookies to gather analytics and present advertisements. Find our other reviews with discussion questions here. And our posts about family stuff here.
