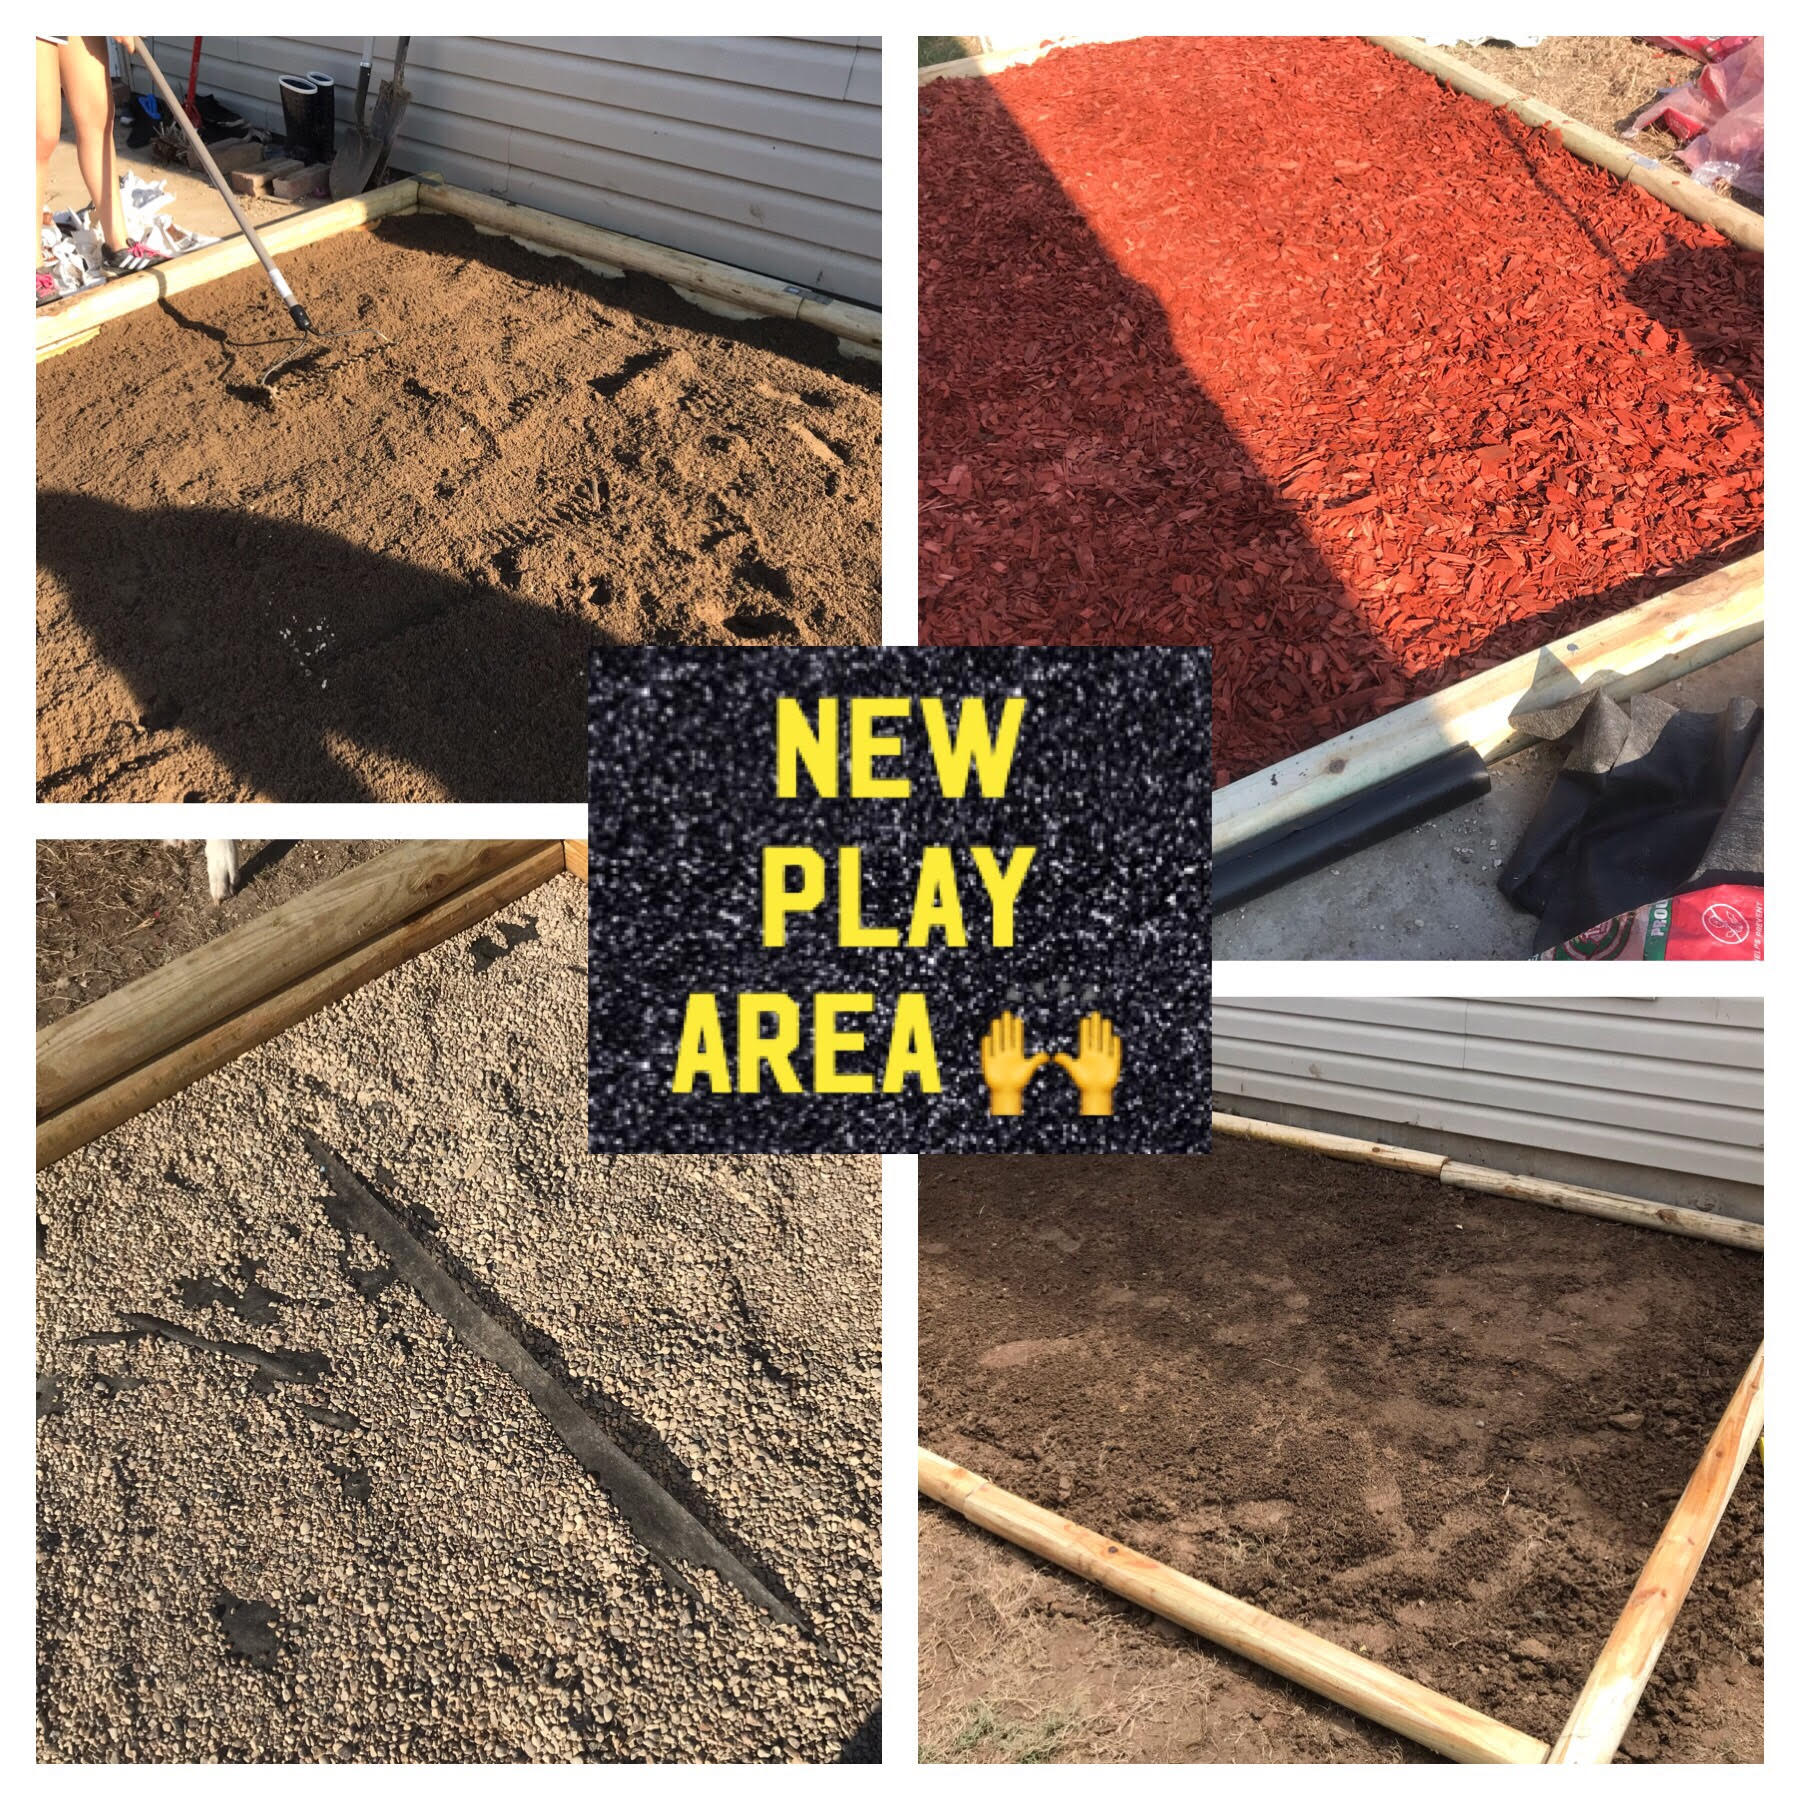
DIY Backyard Playground Area:
How we made ours + 3 mistakes we made that you can avoid
Our entire backyard is sloped, and ruled by our dogs. We wanted an even area that our kiddos could play on that we could place a playhouse on. We decided that extending the patio right next to the house would be the best way to do that.

How we Made Ours:
We wanted to cover a 8×13 area
You can do the math on how many cubic feet of dirt and mulch you will need to purchase by multiplying the width and length of the area you are covering to find the square footage. Multiply that by how many inches you want. (3-6 for playground mulch) Then divide by 324. OR you can use the tools on most home improvement websites 😉
Fortunately for me, my mom and husband are math whizzes so I did not have to do that. *PS* mulch is the most expensive step.
8 Step by Step Instructions
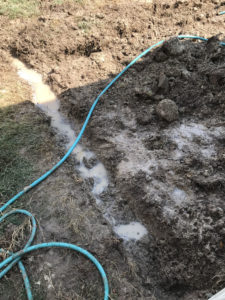
- Step 1: Kill the grass
-We used vinegar and a tarp for several days. Then used weed killer for the remaining grass. - Step 2: Remove the grass
-Weeder, Auger, Shovel. Whatever gets the job done.
*This was the step that took the longest and was the most difficult*
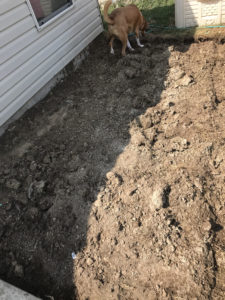
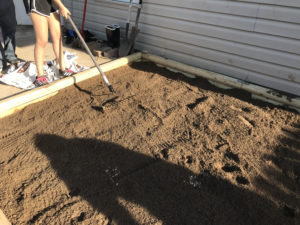
- Step 3: Level the ground as much as possible
-This was probably the most painful part and we ended up doing it twice because we leveled it out and then dig in and around it without removing those piles.
-The ground being damp, not soaked, was really helpful for this part.
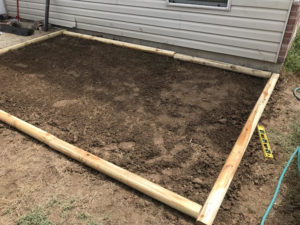
- Step 4: Place siding near where it will be going.
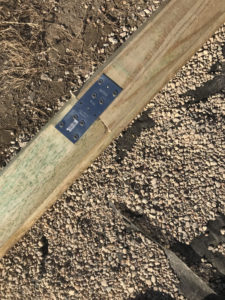
-We used Landscaping Lumber because it was cheap, sturdy and already treated.
-We dug out little troughs (1” or so) and put the lumbar down to test our angles and make sure everything was ready.
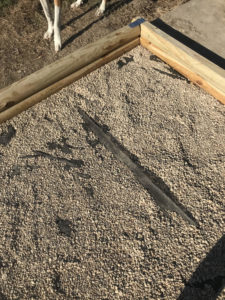
-After placing some pea gravel in the troughs we placed the lumber where it was supposed to go- nailed it together. Then we should have flipped it, so that the screws and metal plates were not face up. Then nail or secure it to the ground. We used long railroad stakes. A lot of websites suggested rebar, but we did not have a sledgehammer, so Railroad stakes was the cheaper securing option.
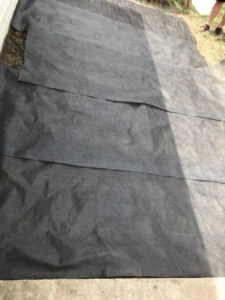
- Step 5: Place a weed barrier on top of the leveled dirt.
-I didn’t use super heavy duty weed barrier- I found a thinner one that was on super sale and did two layers of barrier.
-For the first barrier I laid out pea gravel, secured the boards and then another layer of dirt.
-Then I laid out another barrier, secured it with garden stakes, and placed the mulch directly on top of that.
- Step 6: Nail together Lumber/ Place plastic barrier around the perimeter. Flip the barrier if you are using lumber, then secure it to the ground.
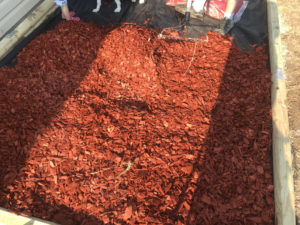
- Step 7: Fill the area with 3-5” of mulch.
-The generally suggested fillings are sand, wood mulch, or rubber mulch. We ended up going with wood mulch. They all have pros and cons, so you just have to pick which you think would suit your family the best.
-We debated over and over again what type of mulch to use. We both originally wanted rubber. However, it is more expensive, potentially toxic for kiddos after long exposure and definitely not good for the ground. (I did end up spraying a lot of bug barrier around it, so the ground ended up absorbing toxins a different way. Hard to do everything organically with a reasonable price tag and no fear or wasps and spiders.)
-We ended up using red wood mulch. The key is to look for the kind that has had the construction material removed, or that don’t have a ton of added chemicals. - Final Step for the DIY Backyard Playground: Construct, move or build your playground equipment. We moved a play house, a preschool slide, and a water table onto ours. We also got a new-to-us, used, wood picnic table to paint and a patio umbrella since we don’t have to share our patio space with toys anymore.
3 Mistakes to Avoid
- Mistake 1: Overdigging before we actually had the siding in hand. We should have put the siding in place to see it before we started digging the troughs. We ended up digging a few inches off andddd too deep. Which drained a lot of energy.
- Mistake 2: Not figuring out which way the metal fixtures would be pointing. We should have flipped the frame of lumber before nailing it into the ground.
- Mistake 3: Underestimating the time and budget. I thought I overbudgeted but I still ended up going over what I had planned. I also thought that we would be able to get it done more quickly than we were able to. It took me about two weeks to kill and remove the grass and start leveling the area. It took four of us one and a half days to put together the entire playground and play area stuff.
**PS**
One bonus tip: We purchased a lot of our materials on a holiday weekend and saved a lot by going to a few different stores based on their sales that weekend.
We are very happy with the overall finish of our DIY backyard playground. It’s worked out well and drained well so far! We’ve really enjoyed having this little dedicated play area. Of course, our toddler still prefers to find pebbles and other things she shouldn’t be putting in her mouth on the other side of the house, but you just can’t keep a toddler in one place no matter how much fun you put in it.

Check out our family movie and book reviews here.
Our favorite recent family post? It’s this one! 10 questions to ask besides ‘how was your day + 5 parenting hacks!
Down The Hobbit Hole Blog uses affiliate links, we only link products we think you’ll like and you are never charged extra for them. As an Amazon Associate I earn from qualifying purchases at no additional cost to you. We also use cookies to gather analytics and present advertisements. This allows us to keep writing and telling ridiculous dad jokes.